| |
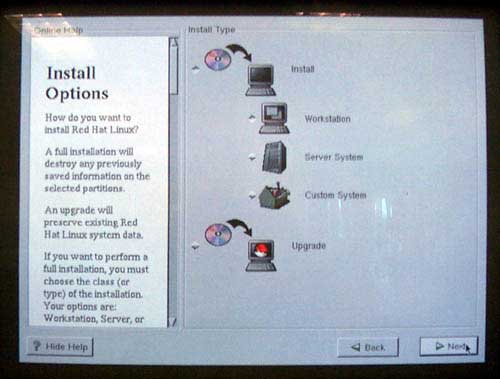
“Install Options” gives you the choice of installing a workstation, server, or cus-tom system. Since we are installing the server’s software first, you should choose “Server System” (See Figure below). After making this selection, you must then decide how your hard disk will be partitioned. The only partitions that a Linux system needs are the “root” and “swap” partitions. However, having multiple partitions, one for each key part of the operating system, allows for tighter security, tighter disk integrity, and easier disk maintenance (McCarty 127). The root partition need not be too big, about 256 megabytes, and the swap should be double your RAM size, but not exceeding that (Kabir 22).10 In addition to the root and swap partitions, we will also use /home, /tmp, /usr, /usr/local, and /var partitions. Since I have about an 8-gigabyte drive, I will allocate the following for each partition:
/root 500MB
swap 128MB
/home 500MB
/tmp 4GB
/usr 1.5GB
/usr/local 1GB
/var 500MB
These numbers are suggestions; they should change depending on your needs. The root partition will house most of the system resources, like the kernel; the /home partition will contain all of your users’ information. The number of users you are planning to allow on the server, will determine this partition’s space. Allocate at least 10 MB per user, so if you have 30 users, the /home partition needs to be at least 300 MB. The /usr and /usr/local directories contain programs essential for productivity and system services. You will want to make them different partitions to make updates and LAN maintenance easier (more on this below). The /var partition will contain all system logs, and the /tmp partition will be used for temporary system files and a shared, public volume for the LAN. Finally, since my server has 64 megabytes of RAM, I allocate 128MB to the swap partition.

In order to partition your disk in this manner, you will have to choose “Manually Partition with Disk Druid” from the “Automatic Partitioning” menu. The top part of the screen represents your disk’s current partitions. You should select each one and hit the “Delete” button. Warning: this will totally erase the contents of your hard drive, but you should have started with an expendable or new drive anyway, as I suggested above. Once you have an entirely partition-less hard drive, you can begin adding the partitions that we mapped out above. Add each one by pressing the “Add” button (see Figure below). Once you are happy with your partition scheme, you can commit to it by hitting “Next.” The next screen will present you with the option of formatting your new partitions. You must format each partition before you can use it in the system, so you should choose to format them all. This screen also gives you the option of checking for bad blocks while formatting; leaving this checked is a good idea.
|
|